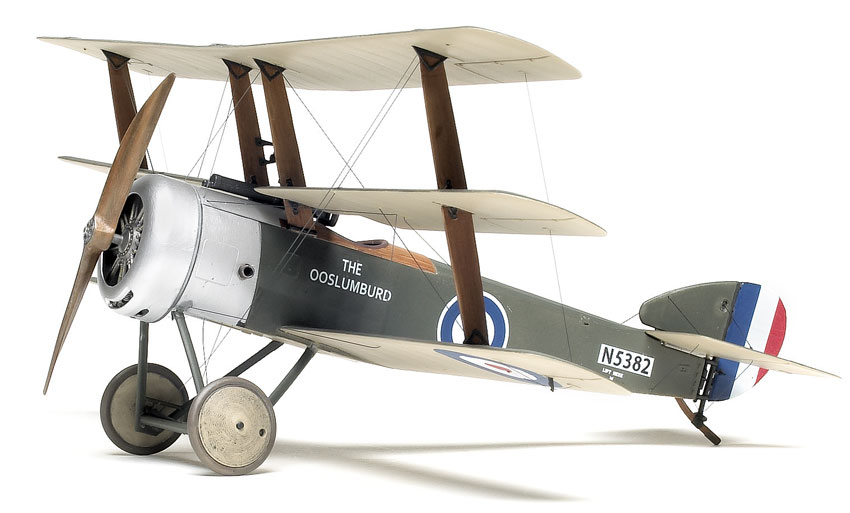
Overshadowed by its more famous Fokker rival, the Sopwith Triplane has had to wait to be kitted — that is, until Roden’s newest 1/32 scale World War I release.
Containing just 68 parts, the kit’s choices are few. The late, smaller elevator is optional. Two props are included, one of which has bad sink marks in the hub. You do have a choice of building a single- or twin-gun version, although the lower fuselage has two shell-ejector chutes. Decals offer five diverse options, including an example of the famous Royal Navy Air Service “Black Flight,” and even a Tripe from the Russian Revolution.
Molding of the parts is generally good. However, my kit had some pinhole voids on the underside of the upper wing — easily filled — and some noticeable sink marks on the fuselage underside, directly below the molded-in interior detail.
Painting and assembling the cockpit was quick, although the instructions are vague about the placement of the outer trim wheel (Part 13B) — it actually mounts to a portion of the cabane strut in the fuselage, not to the outer trim wheel attached to the fuselage side. The seat lacks detail, and no belts are included. Roden molded the panel with instrument housings slightly out of round, and there are no molded faces and no decals, leaving a blank panel. This is the biggest drawback of the interior — and the entire kit, in my opinion. I photocopied and installed some gauges to break up that blank stare. I was pleased with the fit of the upper cockpit decking after trimming the ends square, as it allowed painting the wood finish prior to installing the part. I painted and “wood-grained” the struts and cockpit decking at the same time, then installed the struts on the middle wing.
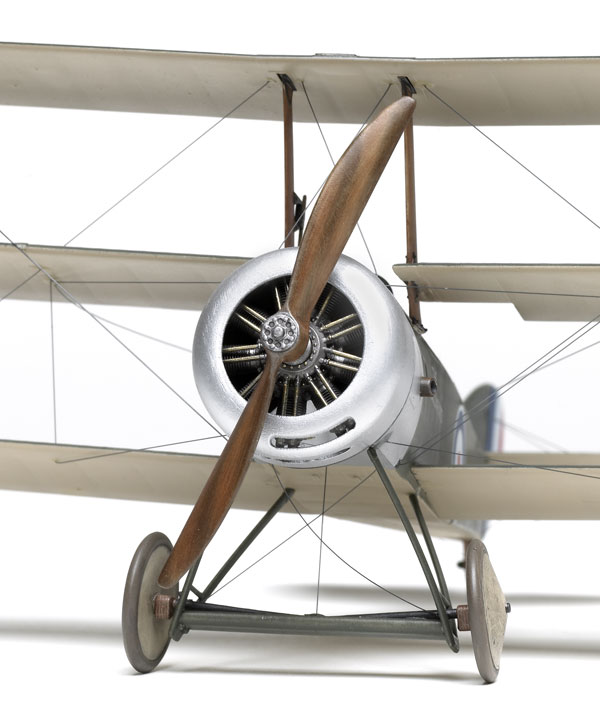
The cabane struts did need a bit of filler and trimming. The struts include very robust mounting pads and fit quite well to the wings. I masked off the struts for painting and used Testors Marine Corps green to simulate that elusive PC10 shade. The prop, engine, firewall, and cowling were finished separately and held for installation after rigging.
Assembly of the one-piece wings was easy; the lower wing fit perfectly to the fuselage with just a quick pass of the knife to square the lower rear of the wing mount on the fuselage. After painting, I attached the top wing to the middle wing to make a stable assembly, then added it to the fuselage and lower wing as one unit.
As with most multiwinged aircraft, the better part of assembly work was accomplished after painting and decaling — and the Tripe’s tail was no exception. Installa-tion was not easy; it required careful fitting and trimming of the posts at the rear of the elevator, as well as careful placement of the delicate one-piece rudder and tailskid.
Unlike its German counterpart, the Triplane actually has quite a few wires. I ran out of time to place the control wires for the tail, but Roden does include the necessary control horns (though they are small and very hard to remove from the sprue cleanly). Roden’s rigging diagram does not clearly show the middle wing bracing, and although the box art helps, I still needed to look at photos to be sure of placement.
The landing gear attachment points are angled tabs that sit in depressions molded into the fuselage. These offer little support, and placement and angles for the entire gear are a bit vague. The cross bar does not fit well until after trimming the recesses in the struts. My Tripe was already a little weak-kneed from a broken gear strut, and it did not take kindly to mounting the gear. A bit of persuasion — and super glue — resolved the issue in my favor.
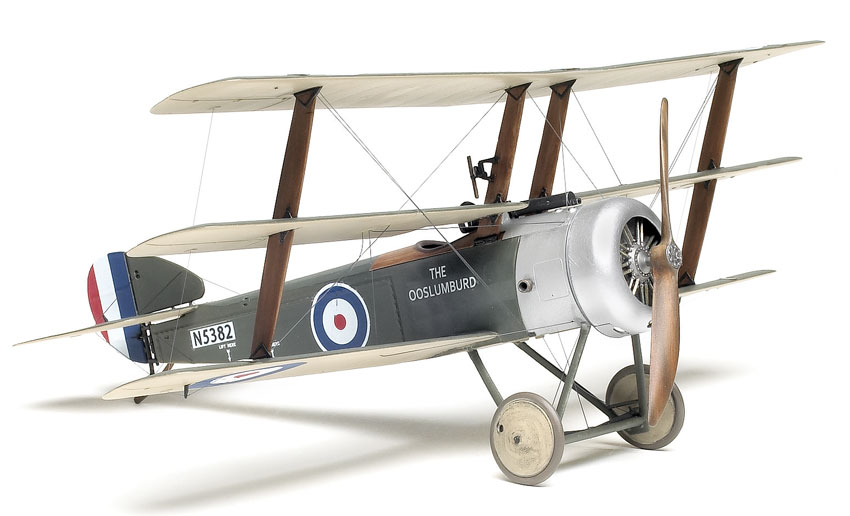
I had chosen the only option that was British, with a wooden cockpit decking, and was pleased by the decals until I placed the first roundel. It immediately developed a tear in the middle of the white portion. Luckily, I was able to coax the pieces back together. I made sure I used plenty of water for the remainder of the roundels, but I had trouble with almost all of them. Oddly, only the roundels gave me problems.
I spent 29 hours on my triplane, and I am pleased with the kit — except for the glaring lack of instrument decals. There has been talk that the fuselage might be too short, but by my references show it is only by a scale 4″, probably only noticeable by a true Tripe hound. The details included are sufficient for most to get an enjoyable result. Roden’s Sopwith Triplane should provide a great starting point for a real show-stopper.